
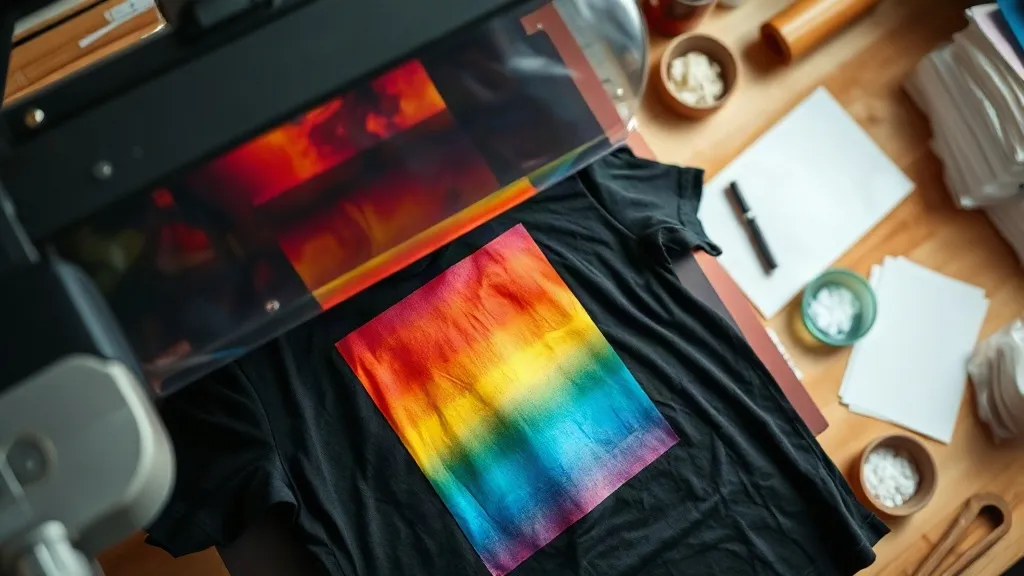
If you have spent any time around custom apparel lately, you have probably noticed a shift. Screen printing shops still exist, vinyl cutting still has its fans, but a growing number of people are turning to dtf printing because it solves a problem the older methods never fully solved: putting detailed, multi-color artwork onto almost any fabric without a huge setup cost. The first time you peel a warm transfer off a cotton t-shirt and see the colors sitting there, crisp and intact, the appeal becomes obvious.
This guide is for the person who has heard the term, watched a few videos, and now wants to understand what is actually happening, what gear is required, and where beginners tend to lose money. No hype, just the working knowledge you need before you commit.
What DTF Printing Actually Is
DTF stands for direct to film. The process is different from direct to garment printing, where a modified printer sprays ink straight onto a shirt. With DTF, you print your design onto a special PET film instead. The printer lays down CMYK ink, then a white ink layer on top, and finally a powdered hot-melt adhesive is applied while the ink is still wet. That powder gets shaken off, the film is cured, and what you are left with is a flexible, transferable print that can sit on a shelf for months.
When you are ready to apply it, you press the film onto the garment with a heat press, let it cool, and peel the film away. The adhesive bonds the ink to the fabric. What remains is a soft, stretchy layer of color that holds up to washing far better than most people expect from a transfer.
Why the White Layer Matters
The white ink layer is the quiet hero of the whole process. Without it, your colors would be translucent and would disappear into dark shirts. Because the white sits behind the color, dtf transfers can be applied to black, navy, or any dark fabric and still show vivid, accurate color. That single detail is why so many small shops switched over. You no longer need separate inventory for light and dark garments.
The Equipment You Need to Start
The startup cost is real, but it is lower than most people assume. Here is the honest list.
- A DTF printer. Entry-level models exist, but the quality gap between cheap and mid-range machines is large. If you are testing the waters, consider ordering transfers from a service first before buying hardware.
- DTF film. This is not generic transfer paper. It has a specific coating that releases the ink cleanly. Buying the wrong film is one of the most common beginner mistakes.
- Hot-melt adhesive powder. Usually available in fine and coarse grades. Fine powder gives smoother results on detailed artwork.
- A powder shaker or, at minimum, a tray and a way to apply powder evenly by hand.
- A curing oven or a heat press used for curing. Some people cure with a press, but an oven gives more consistent results across the whole sheet.
- A heat press for application. A home iron will not cut it. You need consistent pressure and temperature.
If that list feels like a lot, remember that many successful sellers do not print their own transfers at all. They buy them pre-made, apply them with a press, and focus their energy on design and marketing. That is a completely legitimate path.
The Application Process Step by Step
Application is where most quality problems show up, so it is worth slowing down here.
- Set your heat press to the temperature your film manufacturer recommends. This is usually somewhere between 150 and 165 degrees Celsius, but follow their spec, not a random forum post.
- Pre-press the garment for a few seconds to remove moisture and wrinkles. Skipping this step causes uneven adhesion.
- Place the transfer with the printed side facing the fabric. The film backing should face up toward you.
- Press with firm, even pressure. Medium to heavy pressure is typical. Light pressure leaves the adhesive under-activated.
- Let it cool before peeling. This is a cold peel process in most cases. Peeling hot will stretch the print and leave adhesive residue.
- After peeling, do a short second press with a cover sheet. This locks the edges down and improves wash durability.
Each of those steps has a reason behind it. Once you understand why pre-pressing matters or why cooling matters, you stop guessing and start troubleshooting effectively.
Temperature and Pressure Troubleshooting
If the print peels up at the edges after a wash, you either pressed too cool, used too little pressure, or peeled too soon. If the print looks flat and the colors seem dull, you likely over-pressed and flattened the ink. If the adhesive feels tacky and leaves residue on the film, your peel temperature was wrong. These three symptoms cover the vast majority of beginner complaints, and each has a direct fix.
Where DTF Fits Best
DTF is not the right answer for every job, and knowing the limits saves you from disappointment.
It excels on cotton, cotton blends, and polyester. It handles fine detail, gradients, and photographic images that would be painful to screen print. It works on small runs where screen printing setup costs would eat your margin. It is a natural fit for tote bags, hoodies, and team shirts.
It struggles on highly textured fabrics like heavy fleece where the print cannot sit flat, and on some coated or waterproof materials where the adhesive cannot grip. Nylon and certain performance fabrics often need special handling or a different method entirely.
Cost, Pricing, and Whether It Makes Sense for You
The economics depend heavily on whether you print your own transfers or buy them. Printing in-house makes sense once you are moving enough volume to keep the machine busy. Below a certain threshold, the ink, film, powder, and maintenance add up to more than the convenience is worth.
Buying pre-made transfers flips the math. You pay per sheet, but you skip the equipment, the maintenance, and the learning curve. For someone selling twenty shirts a month, that is usually the smarter route. For someone selling two hundred, owning the printer starts to pay for itself.
One thing that catches people off guard is how much the white ink layer contributes to cost. White ink is used heavily in DTF work, and printers that handle it well tend to cost more. Budget accordingly and do not assume the cheapest machine will produce sellable output.
Common Mistakes That Cost Beginners Money
- Buying the cheapest film and wondering why the ink cracks. Film quality directly affects release and durability.
- Skipping the pre-press. Moisture in the fabric causes bubbling and weak adhesion.
- Using too little pressure and blaming the transfer. Pressure is not optional.
- Storing uncured transfers in a humid room. The powder absorbs moisture and the prints fail later.
- Peeling while hot because the print looks ready. It is not. Let it cool.
Each of these is avoidable with a little patience and a consistent process. Write down your settings once you find what works, and repeat them exactly. Consistency is what separates a hobby from a business.
Frequently Asked Questions
How long do DTF prints last on a shirt?
With proper application and normal washing, a well-made print can last through dozens of wash cycles without noticeable fading or cracking. Wash inside out in cold water and avoid high heat in the dryer. Following those two habits alone extends the life considerably.
Can I apply DTF transfers with a regular iron?
Technically you can, but the results are unreliable. A household iron does not deliver even pressure across the whole design, so some areas bond well and others do not. If you are selling anything, a heat press is not optional. It is the tool that makes the process repeatable.
Do DTF transfers work on dark and light fabrics equally well?
Yes, and that is one of their main advantages. Because the white ink layer sits beneath the color, the print looks consistent whether it goes on a white tee or a black hoodie. You do not need separate transfer types for different garment colors.
Is DTF better than screen printing for small orders?
For small runs, usually yes. Screen printing requires a separate screen for each color, which adds setup time and cost. DTF has no per-color setup, so a five-color design costs the same to produce as a one-color design. For large runs of simple designs, screen printing can still be cheaper per unit.
How should I store unused transfers?
Keep them flat, in a cool, dry place, away from direct sunlight and humidity. A sealed bag or container helps. Stored properly, they remain usable for months, which means you can print in batches and apply as orders come in.