
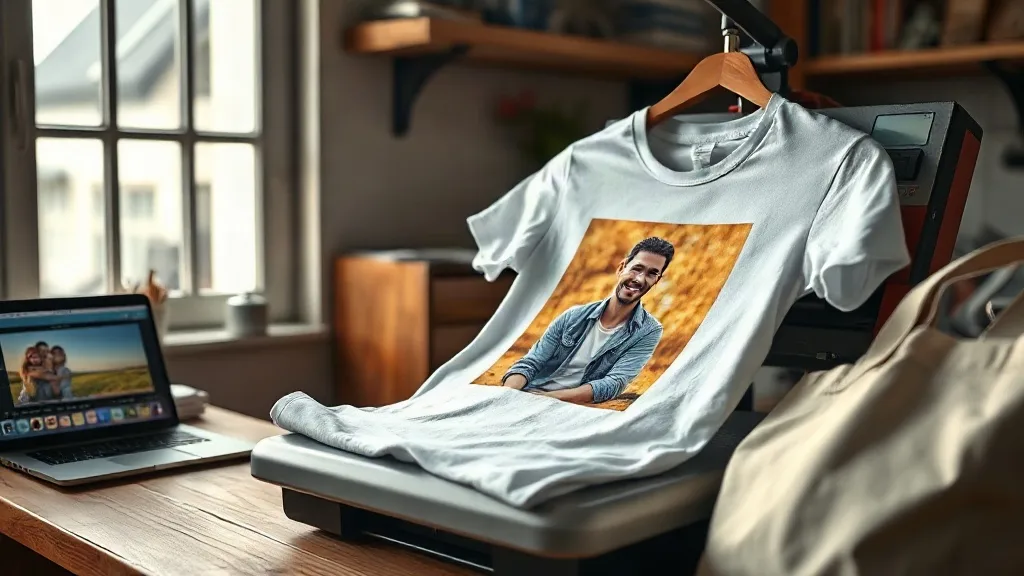
Every print shop owner knows the feeling: a customer walks in with a phone full of photos and a vague idea about putting them on a shirt. Most shops either turn them away or quote a price that scares them off. But those same photos are one of the highest-margin products you can offer, if you know how to handle them. With dtf transfers, a single photo can become a premium product that customers happily pay a premium for. This guide walks through the file prep, pricing, and workflow that make photo-based dtf products a reliable profit center.
Why Photo Products Are a Margin Goldmine
Standard custom apparel is a commodity. Customers compare prices, and the shop with the lowest quote often wins. Photo products are different. They are personal, emotional, and rarely shopped around. A customer who wants a photo of their late father on a memorial shirt is not going to haggle over a few dollars. That emotional attachment gives you pricing power. The material cost is nearly identical to a standard print, but the perceived value is much higher. A typical photo transfer might cost you a dollar or two in materials and consumables, while the finished product can sell for twenty to forty dollars depending on the garment and size. That is a margin most shops would love to have on every job.
The File Prep Workflow That Saves Hours
The biggest reason shops avoid photo jobs is file quality. Customers send blurry screenshots, images with watermarks, or photos taken in poor lighting. The good news is that dtf transfers are forgiving. The printer lays down a white ink base and then the color, which means you can achieve vibrant results even on dark garments. But you still need a clean file. Here is a workflow that keeps photo jobs moving without eating your whole afternoon.
1. Set Expectations Up Front
When a customer sends a photo, tell them immediately what will and will not work. A photo taken in daylight with a steady hand will look great. A screenshot of a screenshot will not. Ask for the original file, not a social media download. A quick text message with a sample of what a low-resolution file looks like versus a high-resolution one can save a lot of back-and-forth later.
2. Upscale and Clean
Most phone photos are around 72 to 96 dpi, which is fine for a screen but not for print. Use an AI upscaling tool or a dedicated photo editing program to bring the resolution up to 300 dpi at the final print size. This is the single most important step. A 4x6 inch photo printed at 300 dpi needs about 1200 x 1800 pixels. Upscaling tools have gotten very good at preserving detail without adding that plastic look. After upscaling, do a quick pass to remove blemishes, adjust the contrast, and sharpen the edges. A little cleanup goes a long way in making the final transfer look professional.
3. Remove the Background When Needed
Not every photo needs a background removal, but many do. If the customer wants the photo on a colored shirt, a busy background will clash. Tools like remove.bg or Photoshop's subject select can isolate the person quickly. For simple portraits, this takes less than a minute. For complex scenes, it might take five. Charge accordingly, or build the cost into your photo product pricing.
Pricing Photo Transfers for Profit
Pricing is where most shops leave money on the table. They charge the same as a standard print, which ignores the extra labor and the higher perceived value. A better approach is to create a separate photo product tier. For example, a standard one-color print might be twelve dollars on a basic tee. A photo transfer on the same tee could be twenty-two dollars. The extra ten dollars covers your file prep time and adds pure profit. If you are offering dtf transfers near me services, you can also upsell a framed print or a tote bag with the same image, increasing the average order value without much extra work.
Consider offering three sizes: small (up to 4 inches), medium (up to 8 inches), and large (up to 12 inches). Each size has a different material cost, but the labor is similar. Price the small size at a modest markup, and the large size at a premium. Most customers choose the medium, which is where your best margin sits. Also, offer a rush option. Photo gifts are often last-minute, and customers will pay extra for same-day or next-day service.
Choosing the Right Blanks for Photo Products
The garment matters as much as the print. A photo transfer on a cheap, thin tee will look and feel disappointing. Stick to ringspun cotton or a cotton-poly blend with a tight weave. These fabrics hold the transfer smoothly and resist cracking. Light colors work best for photos because the white ink base does not have to work as hard, but modern dtf films can handle dark shirts well too. Just make sure the customer knows that a photo on a black shirt will have a slightly different look than on a white one. Show them a sample if you can.
Marketing Photo Products Without Sounding Salesy
The best way to sell photo products is to show them. Post finished examples on your social media and in your shop. A memorial shirt, a pet portrait, a family reunion tee. These images sell themselves. When a customer comes in for a standard order, ask if they have a photo they would like to turn into something special. Keep a small display of photo samples near the counter. The goal is to plant the idea before they need it. When a birthday or anniversary comes around, your shop is the first place they think of.
Common Photo Product Mistakes to Avoid
- Accepting low-resolution files without warning the customer about the final quality.
- Not charging for file prep time, which eats into your margin.
- Using the wrong transfer size for the garment, leading to a cramped or oversized print.
- Skipping a press test on a scrap piece of fabric before pressing the final product.
- Forgetting to ask for permission to use the photo in your marketing materials.
Frequently Asked Questions
Can I use a customer's phone photo for a DTF transfer?
Yes, but you need to upscale it to at least 300 dpi at the final print size. Most phone photos are lower resolution, so use an upscaling tool and clean up any noise before printing. Always show the customer a digital proof so they know what to expect.
How much should I charge for a photo DTF transfer?
Price it as a premium product, not a standard print. A good rule is to charge at least 50 to 100 percent more than your standard print price. This covers file prep, upscaling, and the higher perceived value. Offer size tiers and a rush option for additional profit.
What fabrics work best for photo DTF transfers?
Ringspun cotton and cotton-poly blends with a smooth weave work best. Avoid rough or heavily textured fabrics, as they can cause the transfer to crack or look uneven. Light colors are more forgiving, but dark colors can work well with a proper white ink base.
How do I handle a customer who wants a photo with a busy background?
Offer to remove the background for a small fee, or suggest printing the photo as-is on a light-colored shirt where the background blends in. Use background removal tools for simple portraits, and charge for the extra time on complex images.
Can I turn a customer photo into products other than shirts?
Absolutely. Tote bags, aprons, pillows, and framed prints are all easy upsells. The same photo transfer can be applied to any fabric surface that can handle the heat press. Offering a bundle deal increases your average order value.