
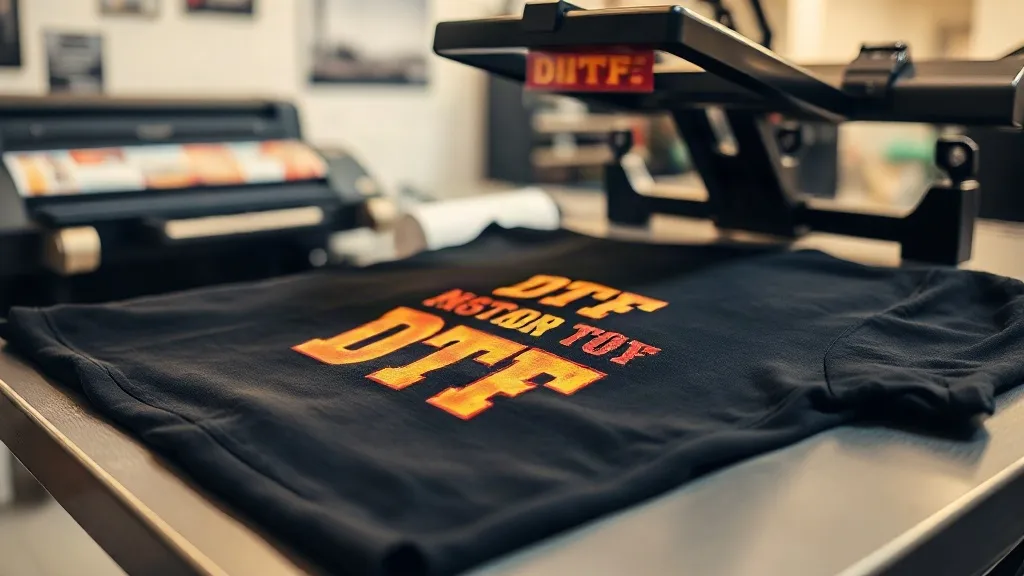
When you first start exploring custom apparel printing, the options can feel overwhelming. Screen printing demands volume, vinyl requires weeding, and sublimation only works on light polyester. Then there is dtf transfers, a technology that has quietly reshaped what small and mid-sized print shops can offer. Unlike other methods, dtf lets you print full-color designs on almost any fabric, from cotton to blends, without the setup costs or minimums. In this guide, we will walk through the entire DTF process, from file preparation to the final press, and share practical tips that separate a good print from a great one.
What Are DTF Transfers and Why They Matter
DTF stands for Direct to Film. The process involves printing your design onto a special PET film using water-based pigments, then applying a hot-melt adhesive powder while the ink is still wet. After curing, the transfer is ready to be pressed onto fabric. The magic of dtf transfers is that they bond mechanically to the fibers, which means they work on cotton, polyester, blends, and even some nylons. This versatility is why so many shops have adopted DTF as their go-to method for small batches and one-offs.
Another advantage is the ability to gang multiple designs onto a single sheet, known as a gangsheet. This reduces waste and cuts down on production time. For a shop that handles a mix of small orders, gangsheets are a game-changer. But before you dive in, it is important to understand the nuances of the process to avoid common pitfalls.
The DTF Printing Process Step by Step
1. Design Preparation
Start with a high-resolution file, ideally 300 DPI at the final print size. Remember that DTF prints are opaque, so you do not need to worry about the fabric color showing through. However, white ink is used as a base, so designs with fine details or gradients may require a white underbase to pop on dark garments. Most RIP software handles this automatically, but always check a proof before printing.
2. Printing onto Film
Load the PET film into your DTF printer. The printer lays down CMYK inks followed by a layer of white ink. The white layer is crucial because it acts as an adhesive and ensures the colors remain vibrant on any fabric. Make sure your printer is calibrated and the ink cartridges are full. Streaks or missing nozzles will show up in the final transfer, so run a nozzle check before a big job.
3. Powder Application
While the ink is still wet, apply the hot-melt adhesive powder evenly over the printed area. Shake off excess powder and return it to the container for reuse. The powder should stick only to the wet ink. For best results, use a powder shaker or a manual scoop, and work in a well-ventilated area. After powdering, cure the film in an oven or under a heat press at around 160°C (320°F) for 2-3 minutes, or until the powder melts and becomes glossy.
4. Curing and Storage
Proper curing is essential for durability. Under-cured powder will lead to poor adhesion and wash-out. Over-curing can make the transfer brittle. Once cured, the transfers can be stored in a cool, dry place for several weeks. Stack them with the printed side up to avoid sticking.
Pressing DTF Transfers: Techniques and Troubleshooting
Pressing is where many beginners stumble. Here is a reliable starting point: preheat your press to 150-160°C (300-320°F), place the garment on the platen, and pre-press for 5 seconds to remove moisture. Then, place the transfer on the garment with the printed side down (adhesive side touching the fabric). Press with medium pressure for 10-15 seconds. Peel the film while it is still warm for a matte finish, or cold peel for a glossier look. Always use a Teflon sheet or parchment paper over the transfer to protect your press.
Common issues include incomplete adhesion, which often means insufficient pressure or temperature. If the edges lift after washing, try increasing pressure or extending the press time. For fabrics with a rough texture, like canvas or heavy cotton, a second press of 5 seconds after peeling can help the transfer settle into the fibers.
Choosing the Right Film and Powder
Not all DTF films are created equal. Look for films with a consistent coating that release cleanly. Thicker films may require more powder, while thinner films can be more prone to curling. For powder, particle size matters: finer powders (around 80-120 microns) work well for detailed designs, while coarser powders (150-200 microns) are better for bold, large-area prints. Always test a new batch of film and powder together before committing to a large order.
Fabric Compatibility: What Works and What Doesn't
DTF transfers adhere best to natural fibers and blends. Cotton, polyester, and cotton-poly blends are ideal. They also work on linen, rayon, and some nylons. However, fabrics with a high spandex content (over 10%) may stretch and cause the transfer to crack. Similarly, waterproof or coated fabrics, like some rain jackets, repel the adhesive. Always test on a swatch if you are unsure.
For stretchy fabrics, consider using a stretchable DTF film or reducing the press pressure slightly to allow the transfer to move with the fabric. And remember, the texture of the fabric will affect the feel of the print: on a rough tee, the print may feel slightly textured, while on a smooth polyester, it will be glassy.
Where to Find DTF Transfers Near Me
If you are not ready to invest in a printer, you can order custom transfers from a supplier. Searching for dtf transfers near me will show local shops that can print and ship transfers quickly. When choosing a supplier, ask about their turnaround time, film quality, and whether they offer gangsheet options. Local suppliers can be a great asset for rush orders and last-minute changes. Plus, you can often pick up your order and inspect the quality in person.
Cost Considerations and Profit Potential
DTF is cost-effective for short runs. The main costs are film, powder, ink, and labor. A single A4 sheet can hold multiple small designs, bringing the cost per print down to cents. For a shop, offering DTF transfers as a service can open up new revenue streams, especially for customers who want small quantities or complex designs. To maximize profit, consider batching orders onto gangsheets and using a software to optimize layout.
Frequently Asked Questions
How durable are DTF transfers after washing?
When applied correctly, DTF transfers can withstand 50+ washes without significant fading or cracking. Always wash garments inside out in cold water and avoid harsh detergents. Tumble dry on low or hang dry.
Can I use DTF transfers on dark colors?
Yes, DTF transfers include a white ink base that makes colors pop on dark fabrics. The white layer ensures opacity, so your design remains vibrant.
What is the difference between DTF and DTG?
DTG (Direct to Garment) prints directly onto the fabric, while DTF prints onto a film and then transfers to the fabric. DTF works on more fabric types and often has lower setup costs for small batches.
Do I need a special printer for DTF?
Yes, you need a DTF printer that uses pigment inks and can print white ink. Converted inkjet printers are available, but dedicated DTF printers offer better reliability and output quality.
How do I store DTF transfers?
Store them in a cool, dry place away from direct sunlight. Keep them flat or roll them loosely. Avoid stacking heavy objects on top, as this can damage the powder layer.